

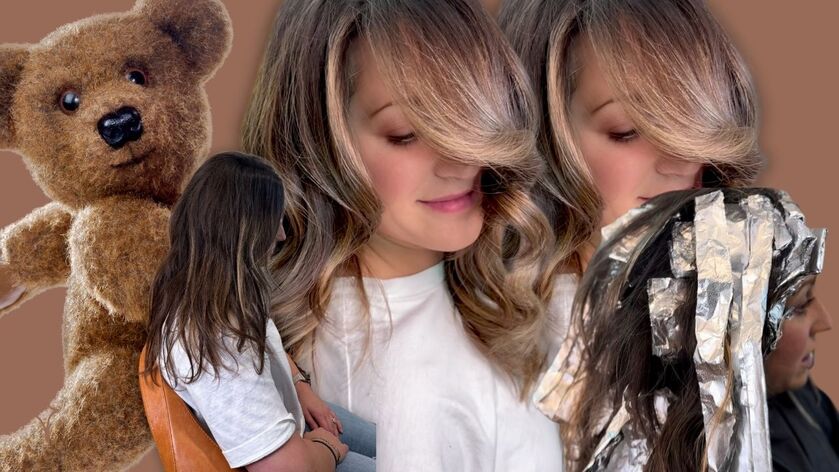
The full breakdown from my Teddy Bronde tutorial coming out on Youtube and Rumble! You can pull this out and use it when you want to re-create the look!
Starting Level: Level 5 (medium brown)
Developer: 20 volume throughout (no bumping developer)
General Approach: Work in halves (one side at a time) for even processing. Manage processing times carefully to ensure consistent, highly detailed results.
1. Prep the Back Section
• Section the back and remove any pre-lightened pieces.
• Apply teasy light slices: Weave out already lightened pieces, leaving about ½ inch between sections.
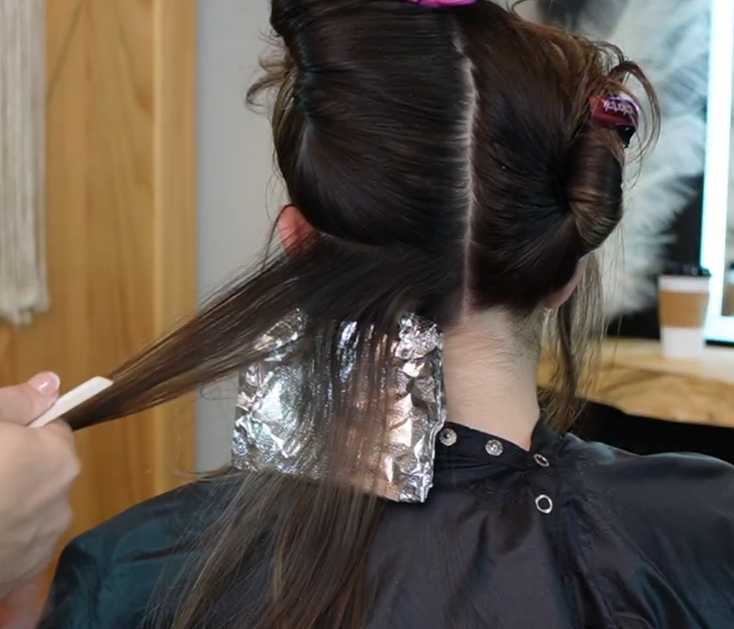
2. Tease Sections Properly
• Comb out a section fully downward.
• Slide the comb up in one smooth motion to create a gentle tease (effective even on super-fine hair for easy detangling later).
• Work all the way up to the parting ridge, taking half-inch sections and skimming the top for your working area.
• Repeat the process on the opposite side of the back.
3. Top / Last Sections (Crown / Parting Area)
• Switch to baby-fine slices (NOT weaves).
• Make slices extremely fine and see-through—this is a game-changer for speed and delivers seamless root-to-tip blending without extra blending needed.
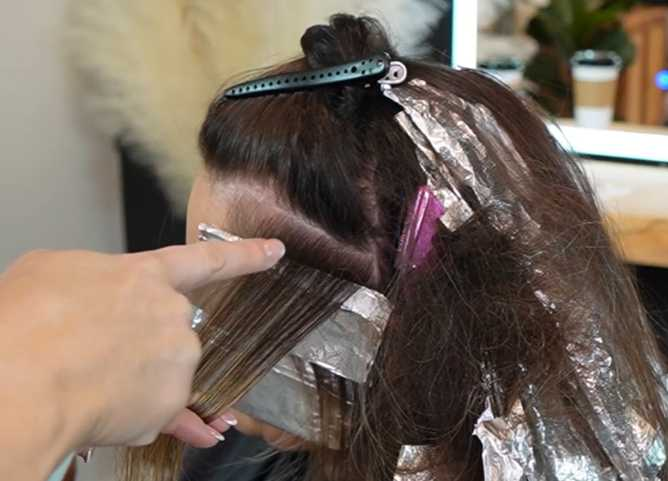
4. Tip Out Ends (Optional Subtle Pops)
• Lightly tip out the ends of just a few pieces for subtle brightness.
• Keep it minimal—focus on dimension, not maximum lift.
5. Sides / Face-Framing
• Take diagonal back sections.
• Use extremely fine slices (about ⅛ inch apart—closer together than the back) to create slightly more concentration of lightness around the face without a distinct money piece.
• Fine slices prevent foil slippage (they hold less hair, so foils stay secure).
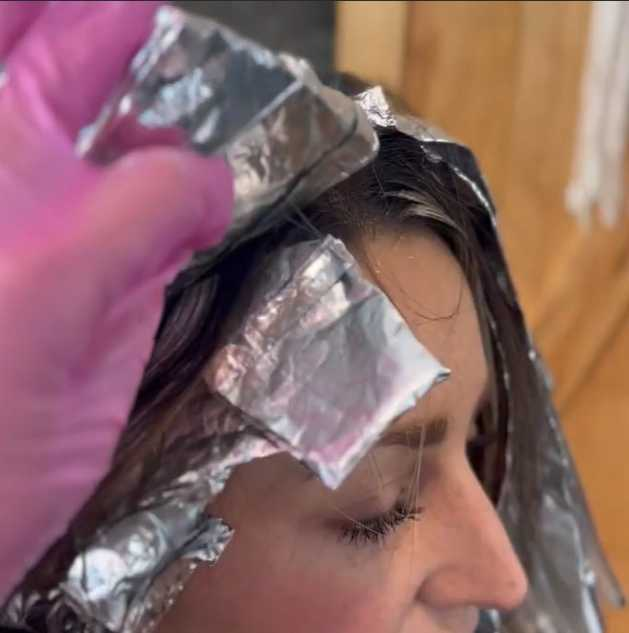
6. Processing & Checking
• Lift to level 8 (warm/yellow undertone) to preserve the warmth needed for honey tones.
• Pull/check foils once you reach level 8 and continue working.
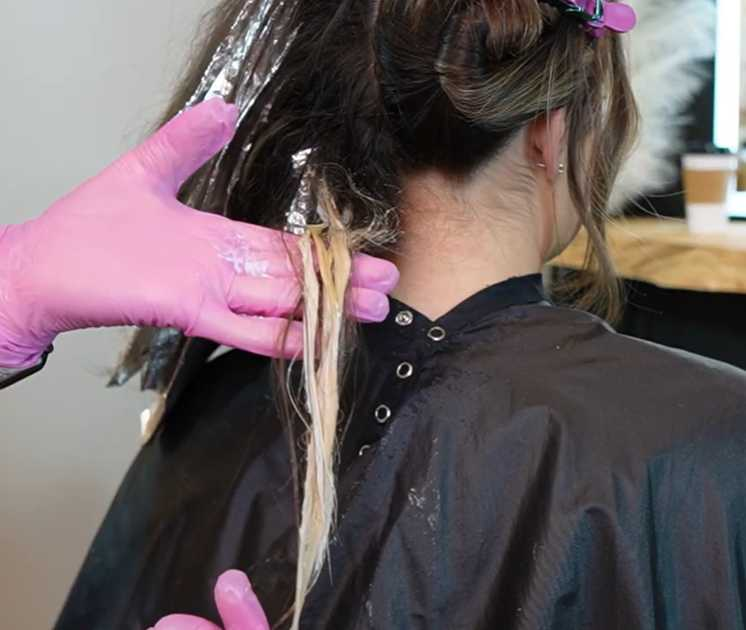
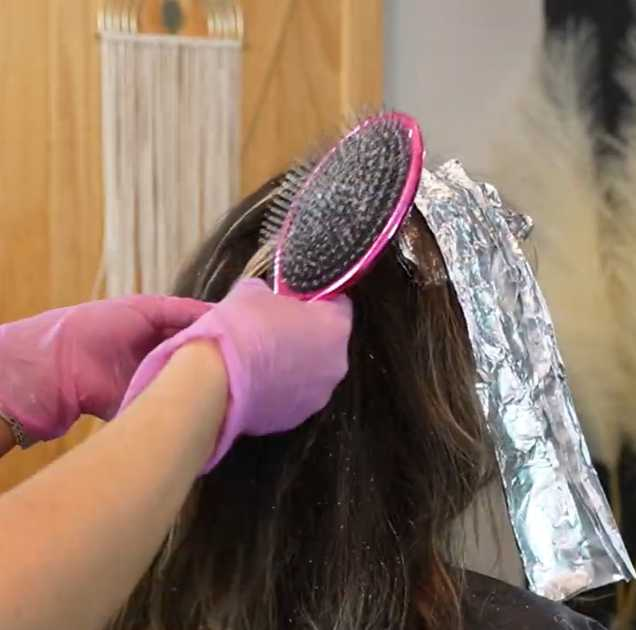
7. Detangle & Clean Up
• Brush out lightener when it is fully dry (processing stops when dry—this saves detangling time).
• Detangle one side while the other side continues processing.
8. Toning
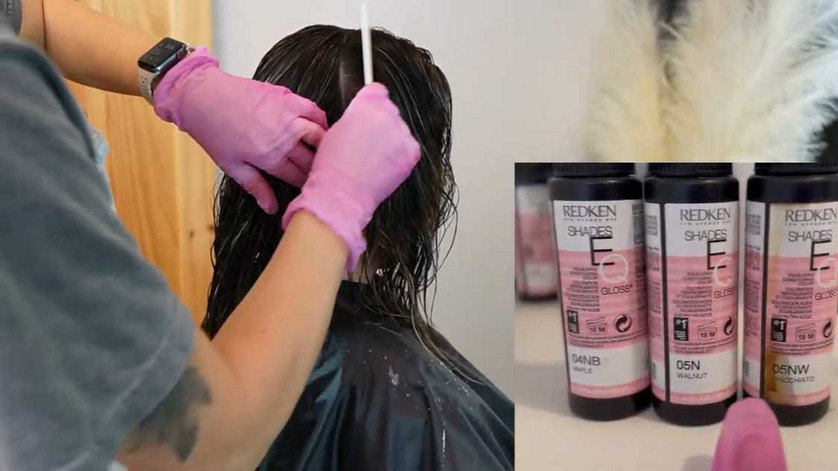
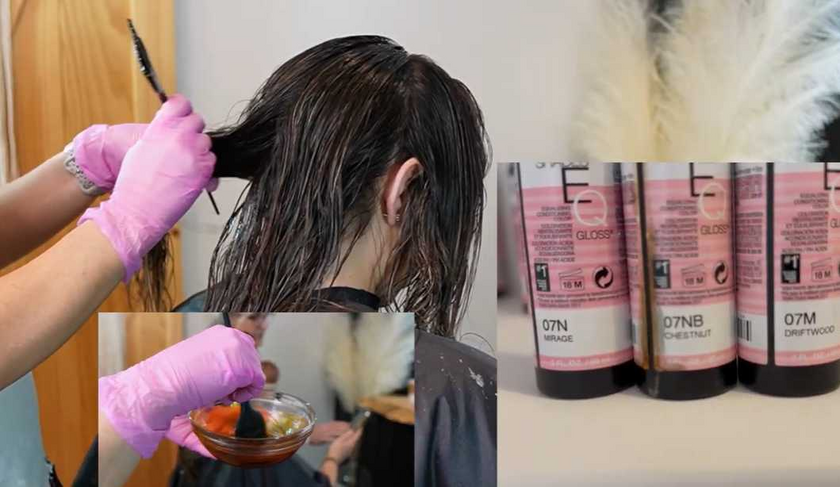
• Apply the root formula first using a blending brush for a fine, even application (ideal for liquid demi-permanents).
• Follow with mid-lengths and ends formulas to create honey-toned dimension and shine.
• Root variation adds intentional depth—your technique already creates a seamless gradient (this is NOT root smudging to fix poor foiling).
9. Finish
• Shampoo, condition, and style with a smooth volume blowout.
• This showcases the timeless “old money” look: touchable volume, less beachy waves.
Formulas Section
(Using demi-permanent gloss, e.g., Shades EQ style)
- Root / Area Formula: 4NB + 5N + 5NW
- Mid-Lengths & Ends Variations: 7NB, 7M, 07N, 7GB, 8NA, 9N, 9NW (Mix and match for honey/bronde warmth, tone control, and natural shine.)
Important Tips for Success
- Processing time management is the key to even, consistent, highly detailed results—refer to the linked processing video for details.
- Teasing technique: One smooth slide-up motion—gentle, fast, and works beautifully on fine hair (easy detangling later).
- Baby-fine slices on top sections: Faster than tiny weaves, creates extreme root-to-tip blending—no heavy blending required later.
- Fine slices prevent foil slippage: Especially helpful on sides and face-framing—less hair per foil = foils stay put.
- Lift only to level 8: Preserves essential warmth for beautiful honey tones—do not push higher.
- Brush dry lightener: Stops processing and makes detangling much easier and faster.
- Root variation: Intentional dimension and tone interest—your teasy lights technique already delivers perfect gradient blending.
- Toning help: If you overthink toning formulas, check the Toning Bible resource pinned in the newsfeed.
- Final style: Smooth volume blowout is essential for the timeless, elegant “old money” vibe—refer to the full blowout on youtube!